
You will notice that there are a great number of languages and sub-languages. Déjà Vu X3 Workgroup ranks the sub-languages hierarchically. If the program finds a exact or an equally fuzzy match with the same subject and client properties and the same source sub-language ( English (United States) , for instance) in the translation memory, it will choose it over another with a different source sub-language ( English (United States) vs. English (United Kingdom) , for instance). Further, it will prefer that constellation (different source sub-languages, equal target sub-languages) to a constellation where the source sub-languages are equal but the target sub-languages are different ( French (Standard) vs. French (Belgian) ).
It is possible to only retrieve matches with the specified sublanguage by selecting File> Options> Translation> Only show matches with the requested sublanguage File> Options> Translation> Only show matches with the requested sublanguage.
The list of displayed languages changes dynamically to display the last chosen languages at the top of the list.
To create a new project file, Déjà Vu X3 Workgroup assists you with a powerful wizard that allows you to create a project file and associate it with existing databases and/or new databases.
To create a new project file
- Open Déjà Vu X3.
- The Start screen appears.
- Select the Project button under Translation Project:

- The Create a New Project wizard appears with the first page in which you are prompted to name your project select a location for it.

- Click Browse....
- The Select Name and Location of New Project File dialog opens.

Select a location for the new project and type a name, then click Save. - Click Next
- In the steps that follow, the wizard will guide you through the process of creating a project file by:
- selecting the languages,
 note
note - selecting or creating the associated translation memory(s),

To add a Translation Memory:- Click Add Local TM....
- The Select Name and Location of Translation Memory dialog opens.

This allows you to select an existing Translation Memory or create a new one.
- selecting or creating the associated Termbase(s),

To add a Termbase:- Click Add Local TB....
- The Select Name and Location of Termbase dialog opens.

This allows you to select an existing Termbase or create a new one.
- selecting the machine translation engines (if applicable),

You can read more about how to configure Machine Translation in a project here. - and selecting a subject and a client.

- selecting the languages,
- Click Next and select the files that need to be translated.

You can access specific import <>properties for each individual or all files by clicking Properties... in this dialog. More information is available here. - When you have made your selections click Next and Close.
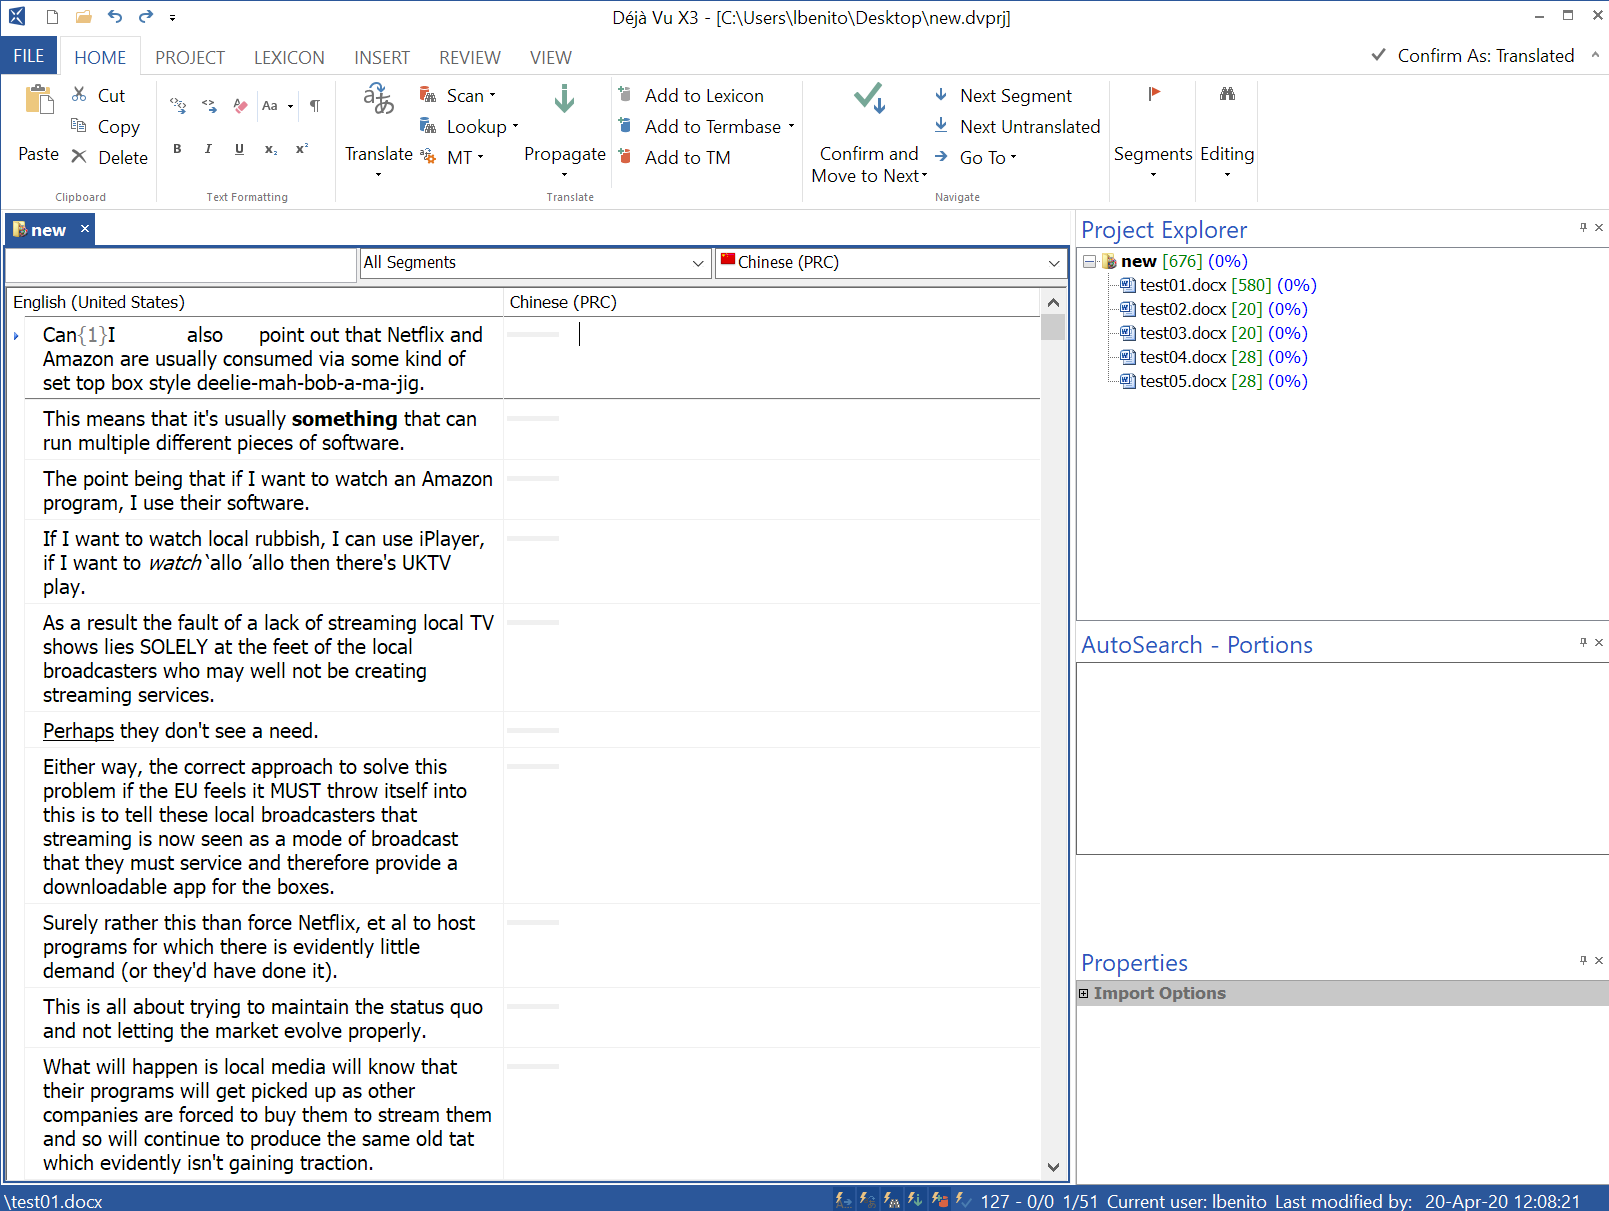
- The Project Explorer is opened, displaying the imported files.
Comments