You can also right-click on the project's filename to export the entire project.
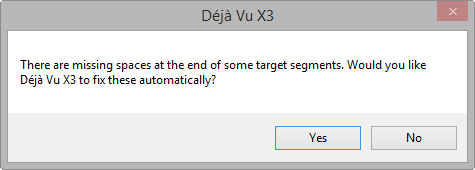
If Déjà Vu X3 finds a discrepancy in spaces following periods, question marks, or exclamation marks, it will offer to automatically fix that discrepancy.
When you are finished translating and editing your files, you will want to export them into their original format. Déjà Vu X3 offers you three different ways to do that:
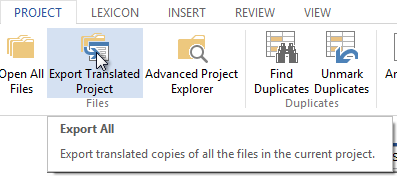
- You can export the complete project via the Project ribbon tab and the Export Translated Project command.
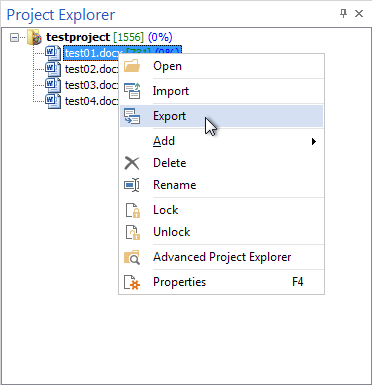
- You can export single files or folders through a right-click command from within the Project Explorer.
- You can export single files or any subset of files from the Advanced Project Explorer.
To export files with the ribbon command
- Open the Project section of the ribbon, and then click on Export Translated Project.

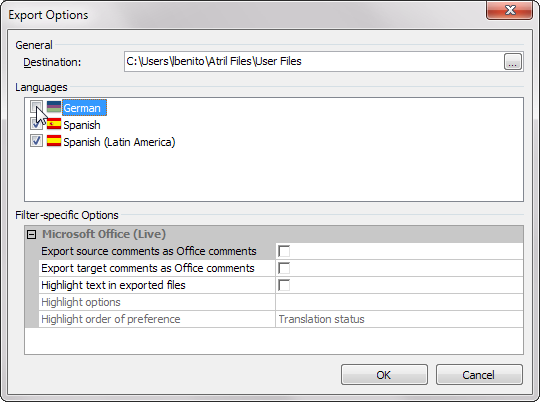
- The Export Options dialog appears.

- Under Destination, select the folder to which you want your files to be exported.
- Under Languages, select the languages you want to export.
- If applicable, you can define filter-specific options for the files within your project under Filter-specific Options.
If your project contains several file types with filter-specific export options, all sets of options will be listed and you will have to make sure that you set all available options. - Select OK.
- Déjà Vu X3 will verify if there are any discrepancies:
- in tags and/or
- spaces at the end of segmentsnote.

- For each language you are exporting, Déjà Vu X3 will create a subfolder inside the export folder, named after the code for the specific locale of that target language. For example, if you were translating the file into German (Germany), the new folder would be called C:\My Projects\DE_DE. If your project contained a complete folder, Déjà Vu X3 will recreate the structure of that folder with all of its subfolders, containing all the files you have translated.
To export files with the right-click command in the Project Explorer
- Locate the file or folder you wish to export in the list of files shown in the Project Explorernote.
- Right-click on it.
- Select the option Export:

- The Export Options dialog appears:

- Under Destination, select the folder to which you want your files to be exported.
- Under Languages, select the languages you want to export.
- If applicable, you can define filter-specific options for the files within your project under Filter-specific Options.
- Select OK.
- Déjà Vu X3 will verify if there are any discrepancies:
- in tags and/or
- spaces at the end of segmentsnote.

- For each language you are exporting, Déjà Vu X3 will create a subfolder inside the export folder, named after the code for the specific locale of that target language. For example, if you were translating the file into German (Germany), the new folder would be called C:\My Projects\DE_DE. If your project contained a complete folder, Déjà Vu X3 will recreate the structure of that folder with all of its subfolders, containing all the files you have translated.


Comments