You can only import one file at a time into the TEAMserver termbase, just as you can inly improt one CSV file at a time into a Déjà Vu X3 Termbase.
You can specify what languages the terms contained in the CSV file are in later.
- Access the Termbase section of the Admin website.
- Click on Import CSV File:
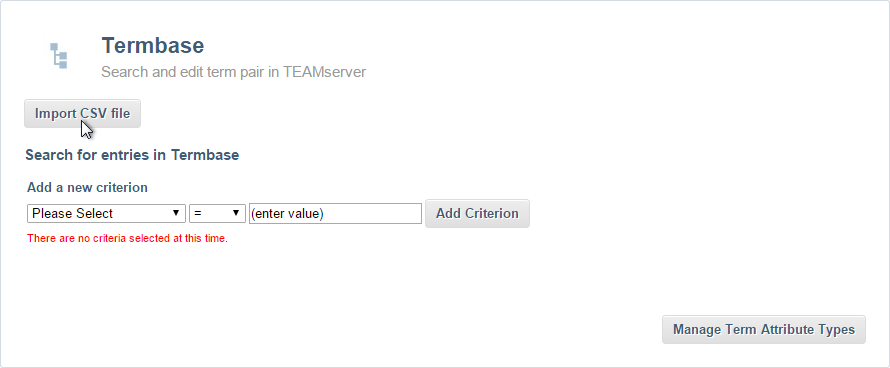
- The Import CSV file page appears. Here, you can specify what CSV file you want to import and, much like in DVX3, configure how the information contained in the file should be read. To specify what file you want to import, click Choose File:
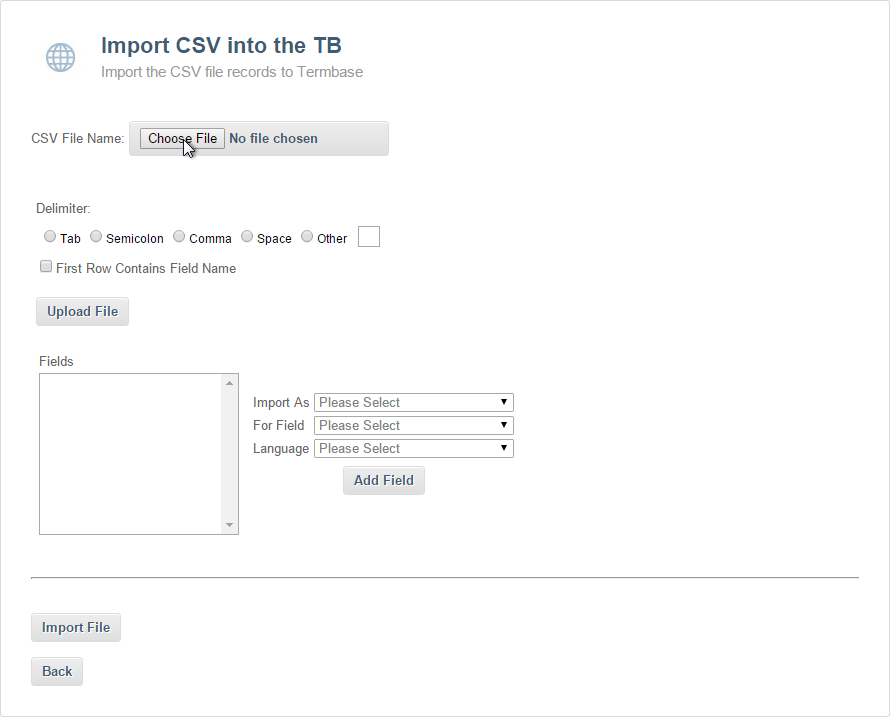
- The name of the file that will be imported is displayed. You can click on Choose File if you wish to select a different filenote.
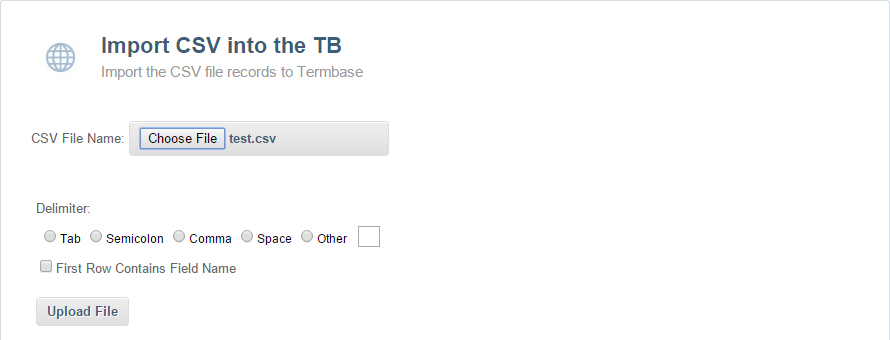
- Next, you must specify the following information:
- The Delimiter that the CSV file uses.
The delimiter is the character that separates each piece of text inside the CSV file. Normally, this will be a comma, e.g.:
"English","French"
"The","le"
"quick","rapide"However, it is also possible to use other characters. For example, CSV files exported by Microsoft Excel will often use a semi-colon.
- Whether the CSV file's first row contains Field names.
This is useful when you have a CSV file in which the first line consists of labels for each column in the file. In the example shown above, the first line contains the names of the language of each column. Checking this option will tell the TEAMserver that the first line of the file does not consist of terminological information and therefore should not be imported into the Termbasenote.
- The Delimiter that the CSV file uses.
- When you are done, click Upload File. This will send the CSV file to the TEAMserver. The TEAMserver will read the file, find the fields (columns) it contains, and then allow you to configure how the information contained in the file must be processed.
The box labelled Fields contains the list of fields found in the CSV file. For each one of these, you must configure whether the field will be imported and, if so, how.
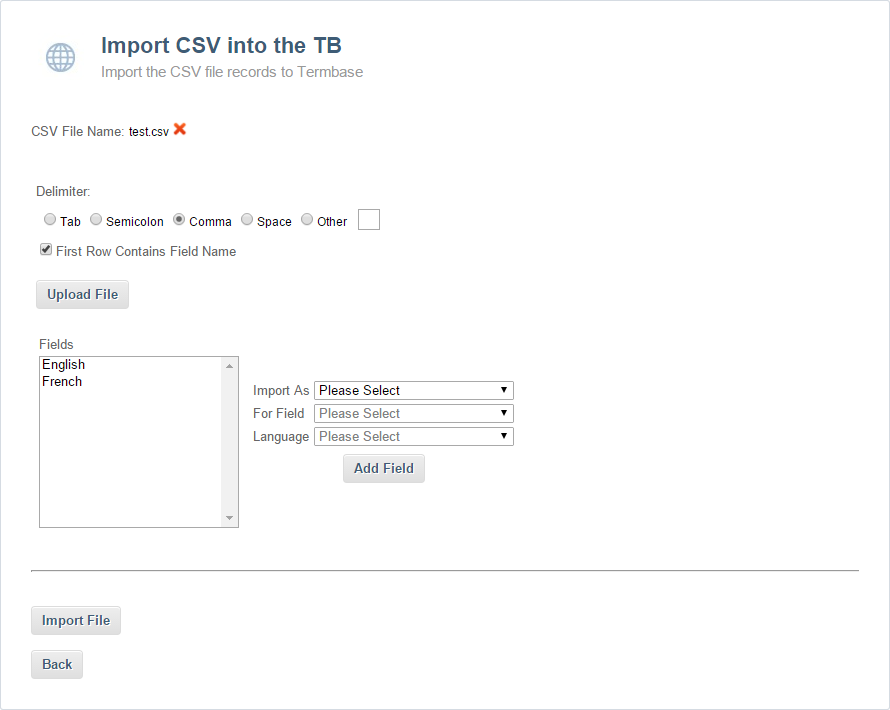
- To configure how a field is processed, click on the name of the field in the Fields box:
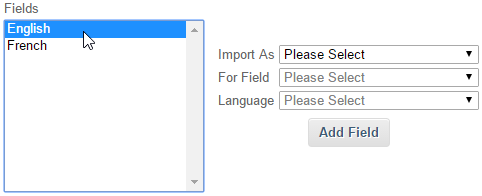
- When you have a field name selected, three boxes to the right of the Fields box become available. You can use these to specify how the selected field will be used. In this example, we will import the English field as the main lemma, and specify that it is in English:
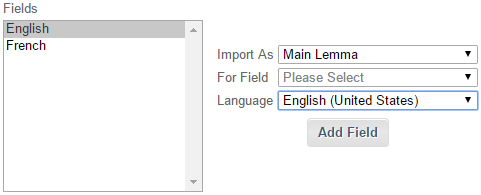
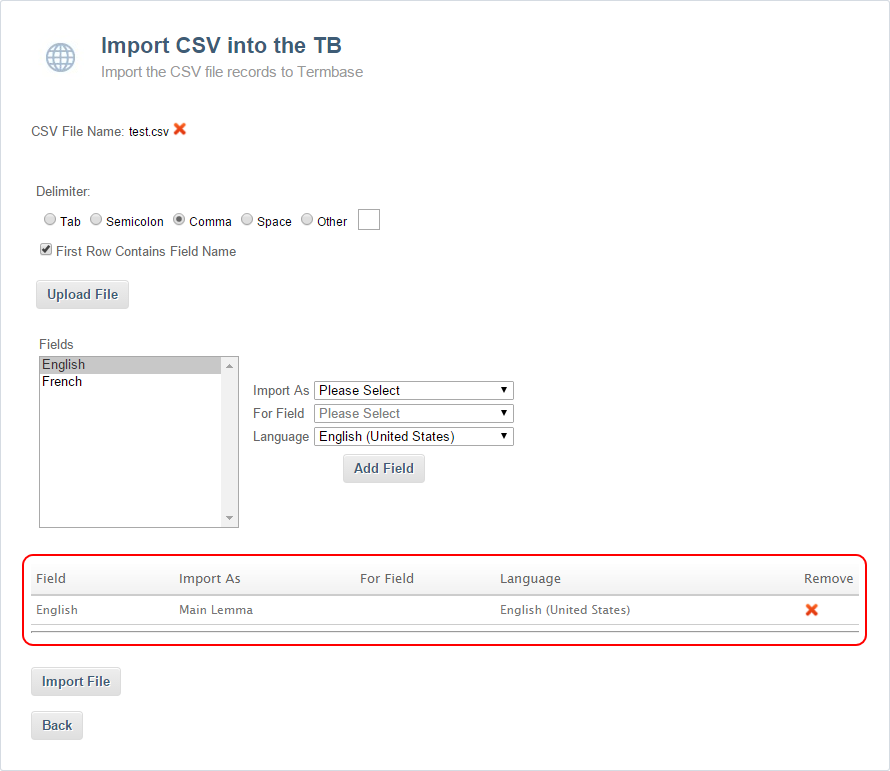
- Click Add Field when you are done. A list of configured fields will appear at the bottom of the page, showing the field you have just configured for importing, and its configuration. This will be updated every time you configured a new field:
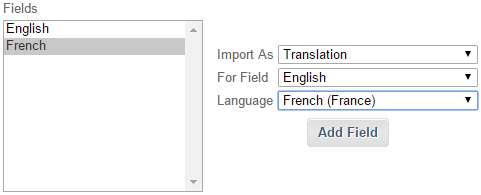
- You can configure the rest of the fields, the same way. In this example, we configure the French field to be imported as a translation for the English, and specify that it is in French.
- Once all the fields that you wish to import have been configured, click Import File.
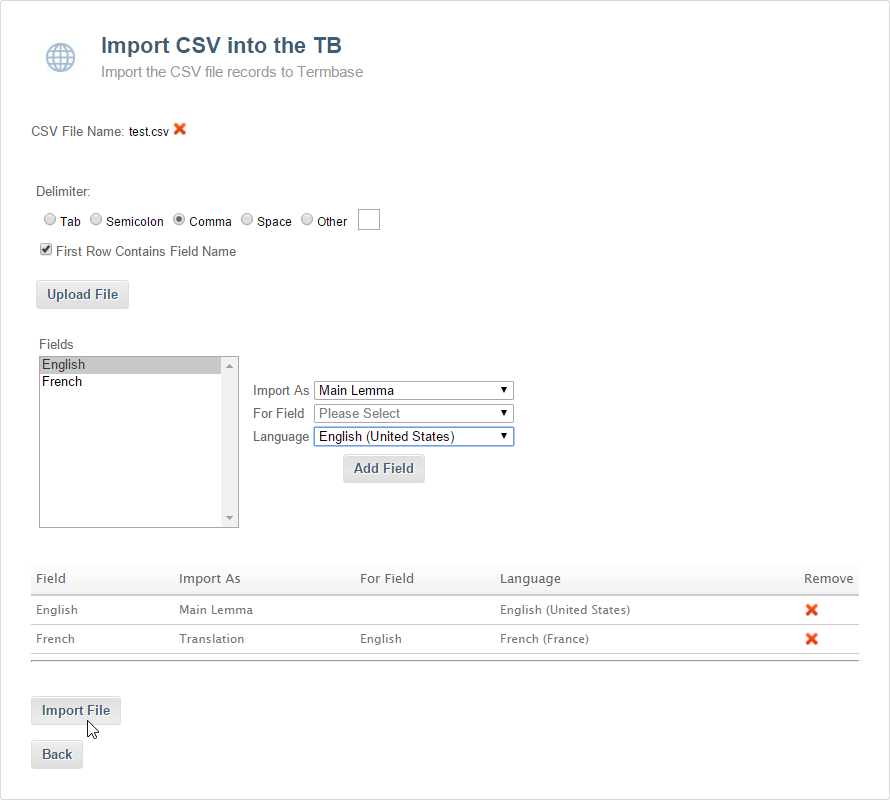
- Now, the TEAMserver will extract information from the CSV file and add it to the Termbase. This may take some time if the CSV file is large. When the process ends, the TEAMserver will popup a dialog to let you know:
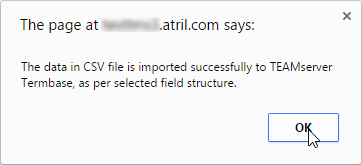
- Click OK.
- You will be taken back to the Termbase page, where you can upload another CSV file or see the contents of the Termbase.


Comments