This article will walk you through the process of importing delimited text files (tab, comma, etc.) into a Déjà Vu Termbase. The instructions are slightly different depending on the version of Déjà Vu you are using. Select your version of Déjà Vu below:
 Déjà Vu X2 Déjà Vu X2 |
 Déjà Vu X3 Déjà Vu X3 |
| |
|
- With an open Termbase, access the menu option File>Import>External Data.
- The Termbase Import Wizard appears.
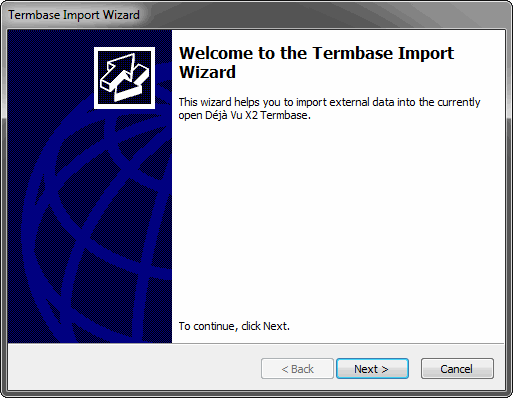
- Click Next.
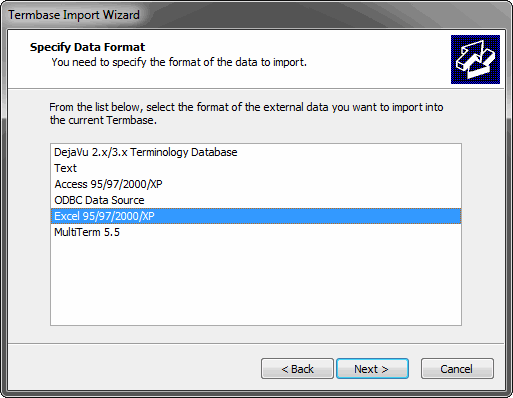
- The wizard prompts you to specify an import format. Select Text to import a multilingual comma-separated value file (.csv).
- Select Text and click Next.
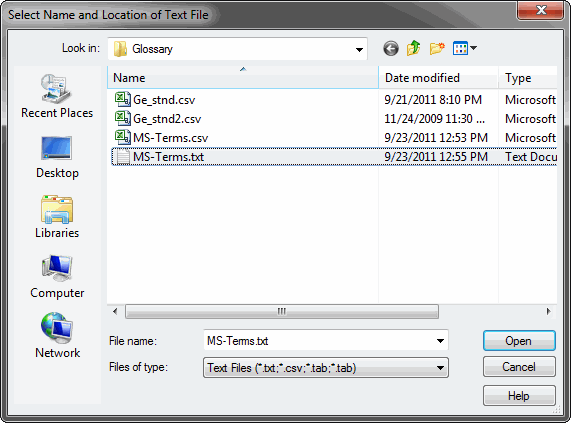
- Select the text fle you want to import and click Open. The wizard displays the current settings.
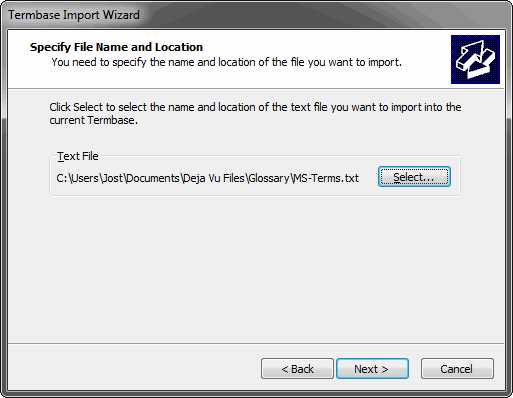
- Click Next. The wizard displays the data of the file and allows you to adjust the delimiter settings.

- Select the delimiter of your original file (in this case Comma), and check the appropriate option if the first row contains field names.
- Click Next. The wizard now allows you to specify the field information for the fields of your original file.
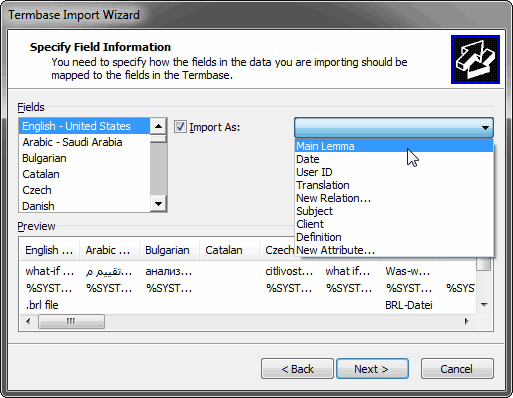 The available standard fields depend on the template you have assigned to that database. If you have attached the default ATRIL Déjà Vu X2 template you will see the following relations: The available standard fields depend on the template you have assigned to that database. If you have attached the default ATRIL Déjà Vu X2 template you will see the following relations:
- Main Lemma (typically the source term)
- Translation
- Synonym
- Antonym
- New Relation...
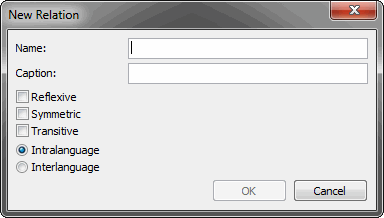
Selecting New Relation will open the New Relation dialog in which you can create a new relation and assign it to the template of the termbase.
and the following attributes:
- Part of Speech
- Gender
- Number
- Definition
- Subject
- Client
- New Attribute...
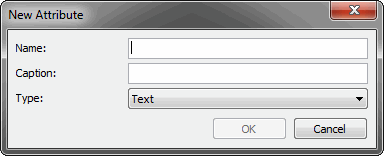
Selecting New Attribute will open the New Attribute dialog in which you can create a new attribute and assign it to the template of the termbase.
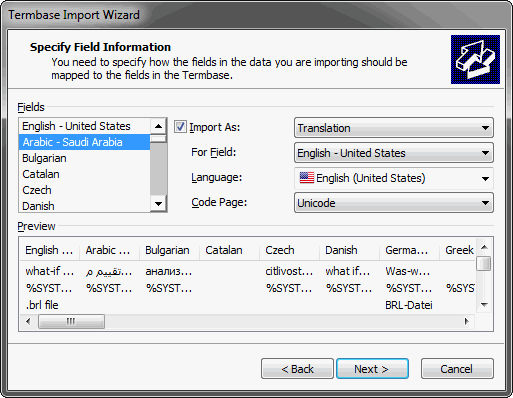
- Select Main Lemma and the appropriate language and code page settings for the source language, and Translation, the appropriate language, relation, and code page settings for the target languages.
- Click Next.
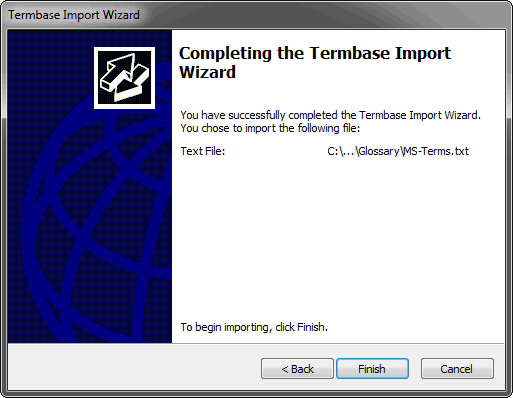
- The wizard displays the current settings. Click Finish.
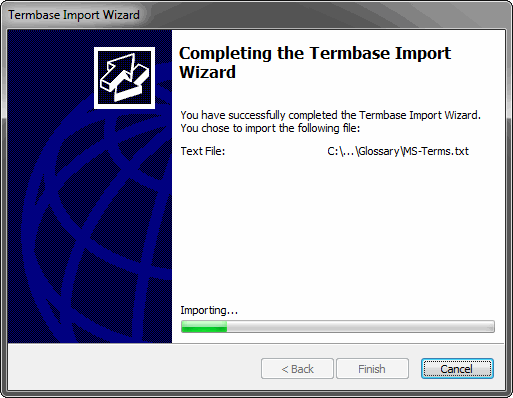
- The wizard displays the import progress; when it is finished, it shows how many records have been added.
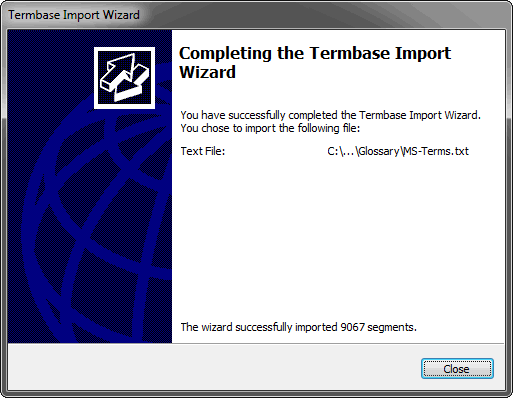
- Click Close and you are returned to your termbase view. If you now look for one of the imported segments, you will find that all languages have been imported.
- With an open Termbase, open the section of the Ribbon called External Data>Import and then click on Text.
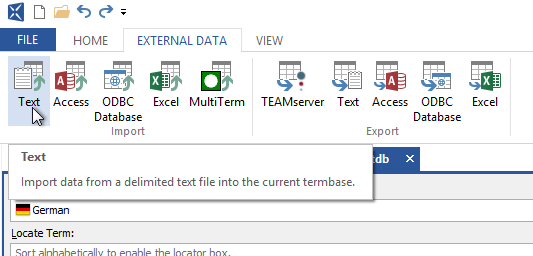
- The Termbase Import Wizard appears.
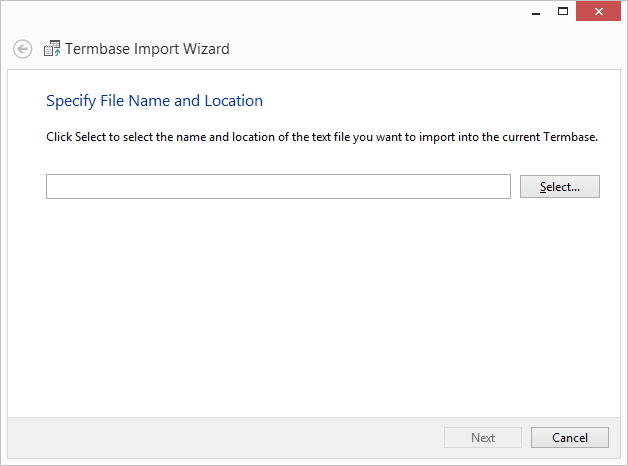
- Click on Select.
- Select the text file you want to import and click Open. The wizard displays the current settings.
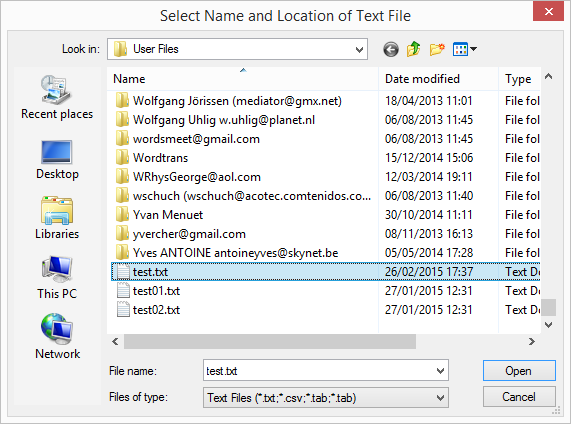
- Click Next. The wizard displays the data of the file and allows you to adjust the delimiter settings.
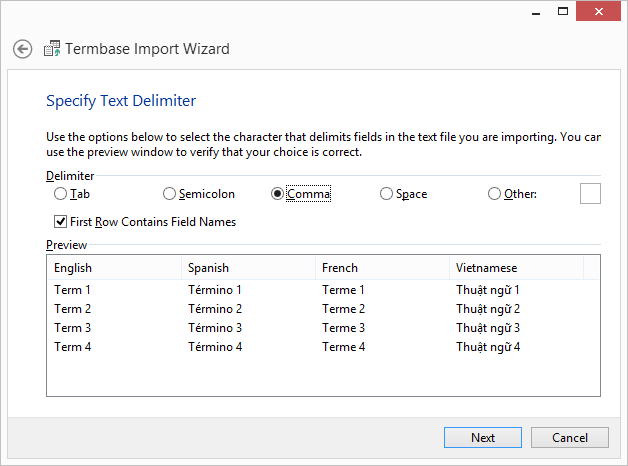
- Select the delimiter of your original file (in this case Comma), and check the appropriate option if the first row contains field names.
- Click Next. The wizard now allows you to specify the field information for the fields of your original file.
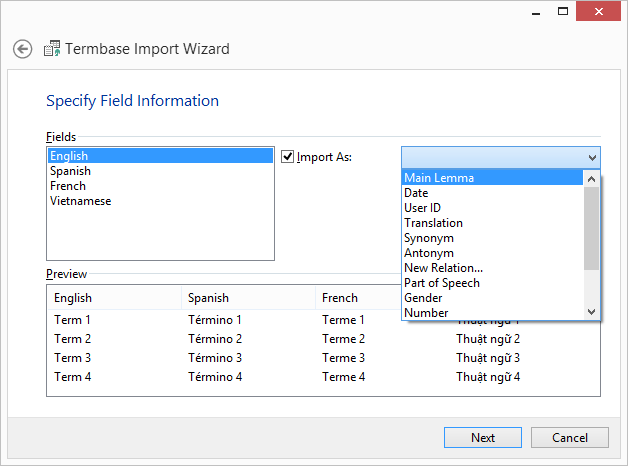
The available standard fields depend on the template you have assigned to that database. If you have attached the default ATRIL Déjà Vu X3 template you will see the following relations:
- Main Lemma (typically the source term)
- Translation
- Synonym
- Antonym
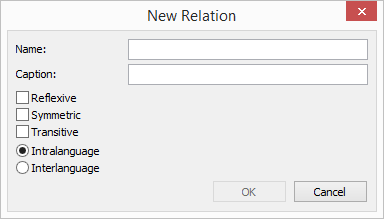
- New Relation...
Selecting New Relation will open the New Relation dialog in which you can create a new relation and assign it to the template of the termbase.
and the following attributes:
- Part of Speech
- Gender
- Number
- Definition
- Subject
- Client
- New Attribute...
Selecting New Attribute will open the New Attribute dialog in which you can create a new attribute and assign it to the template of the termbase.

- Select Main Lemma and the appropriate language and code page settings for the source language, and Translation, the appropriate language, relation, and code page settings for the target languages.
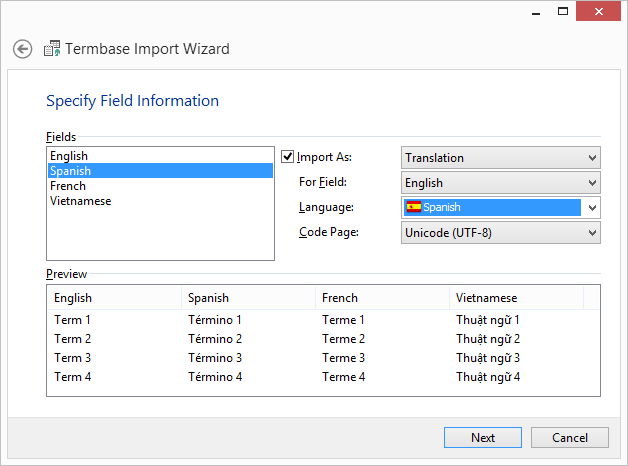
- In Additional options you can check the option Remove duplicate segments if you want Déjà vu X3 to automatically remove any duplicated terms form the file you are importing.
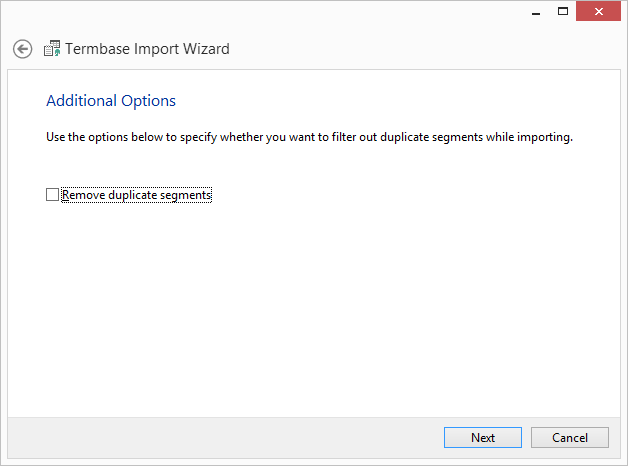
- Click on Next.
- Déjà vu X3 will import the terms and let you knwo when it has finished.

|


 The available standard fields depend on the template you have assigned to that database. If you have attached the default ATRIL Déjà Vu X2 template you will see the following relations:


Comments