A TMX file can be multilingual, so you can select as many languages as you like.
In all likelihood, UTF-8 is the right choice here.
This article explains how to use a TMX file in Déjà Vu. It explains how to import a TMX file into a Déjà Vu Translation Memory for use in Déjà Vu during translation, and how to export the data from a Translation Memory to TMX format to share with others. TMX is well supported by many applications, so it is a good format to use to share the content of your Translation Memories.
To find out how to do these things, click on the version of Déjà Vu that you are using, below.
 Déjà Vu X2 Déjà Vu X2 |
 Déjà Vu X3 Déjà Vu X3 |
| |
|
How to import a TMX file into a Déjà Vu Translation Memory
To be able to use the content of a TMX database in Déjà Vu you must import the contents of the TMX file into an existing or newly created Translation Memory in Déjà Vu. You can do this as follows:
- To create a new TM, access the menu option File>New>Translation memory, and then complete the Translation Memory creation wizard. You can skip this step if you already have a Translation Memory you want to import the TMX file into.
- Open the Translation Memory you want to import the TMX file into and access the menu option File>Import>File or Database and complete the wizard:
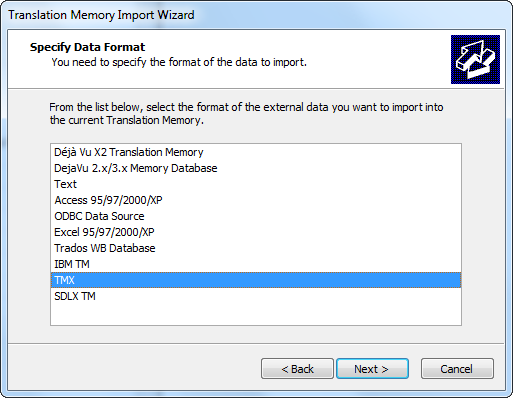
- Make sure to select TMX as the file type you wish to import.
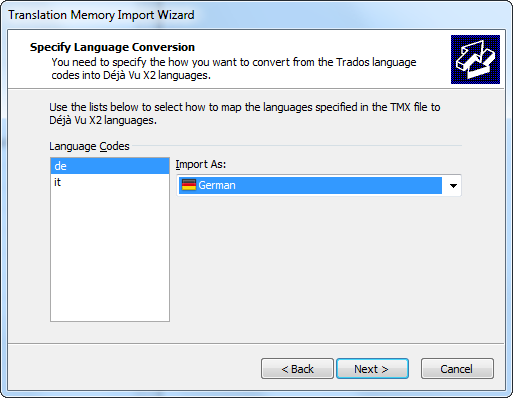
- TMX files contain language codes that specify what language each sentence is in. These codes are not the same as the codes used internally by Déjà Vu, so you must tell it what language corresponds to each code. Déjà Vu is almost always able to assign the right language to the right code, however, so in most cases you will only have to confirm the choices Déjà Vu brings up:
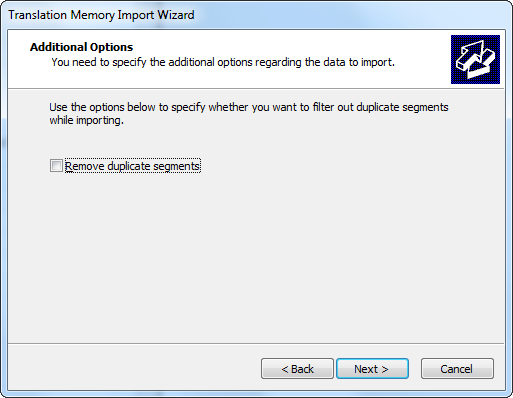
- In the following screen, you can choose to have Déjà Vu automatically identify duplicate sentence (sentences in the TMX file that are already present in your TM) and refrain form importing them:
- Continue to the end of the wizard.
When the import finishes, the Translation Memory will have the contents of the TMX file your imported ready for use by Déjà Vu. You can then attach this Translation Memory to your projects and use it to pre-translate a new project or as a resource during normal work.
How to import a TMX file into a Déjà Vu Translation Memory
- Open the Translation Memory that you want to import the TMX file into.
- Select the External Data ribbon tab.

- In the Import section of the ribbon, select TMX.
- Select the desired export path, give the file an appropriate name, and click Save. The wizard displays the current settings.
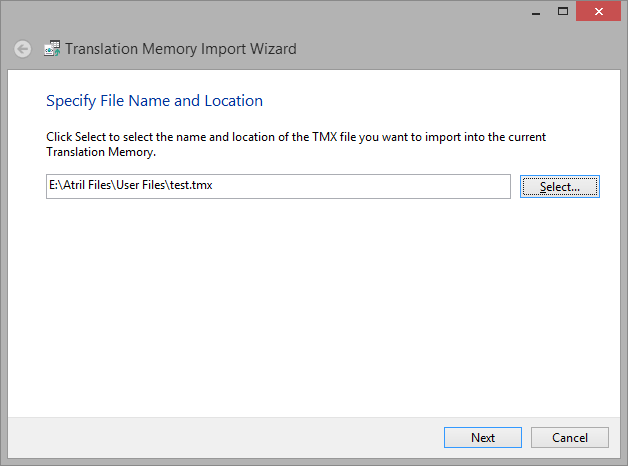
- Click Next.
- The wizard displays the language codes it has found in the TMX file. Déjà needs to know what language each of the language codes corresponds to. If the TMX file you are using uses standard language codes, Déjà Vy will be able to associate the right language to each language code. Nonetheless, you should always check all the language codes to make sure that the right language is assigned to each of of them.
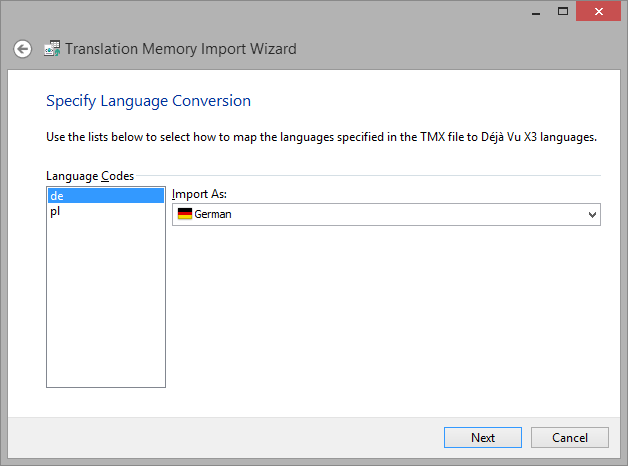
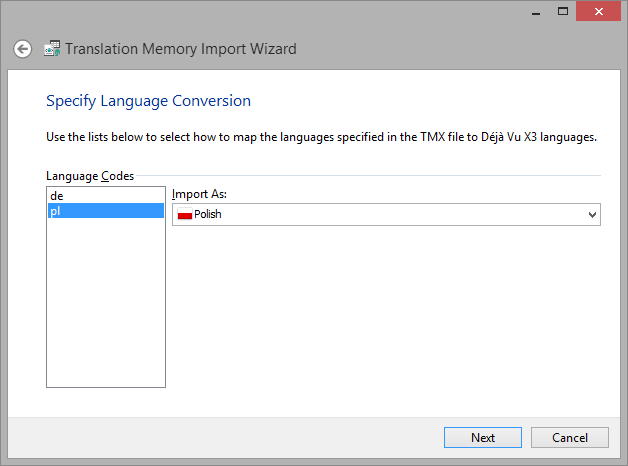
- Click Next.
- In the Additional Options page you can ask Déjà Vu X3 to remove duplicate segments during import, if you wish.
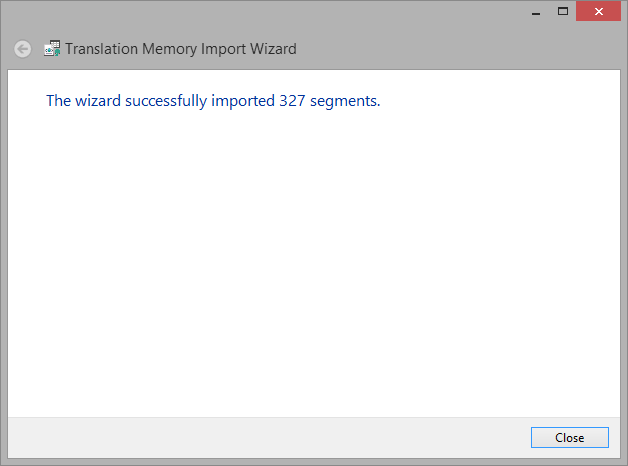
- The wizard will import the data from the TMX file, and show you the following when it is done:
How to export data from a Déjà Vu Translation Memory to TMX
- Open the Translation Memory you want to export.
- Select the External Data ribbon tab.

- In the Export section of the ribbon, select TMX.
- Select the desired export path, give the file an appropriate name, and click Save. The wizard displays the current settings.
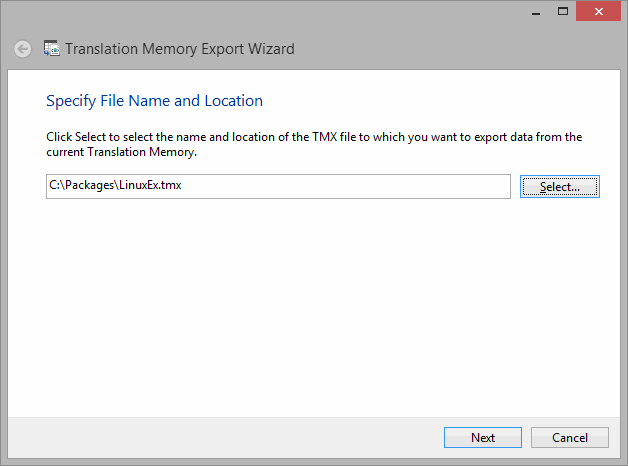
- Click Next.
- The wizard displays the languages in your translation memory.
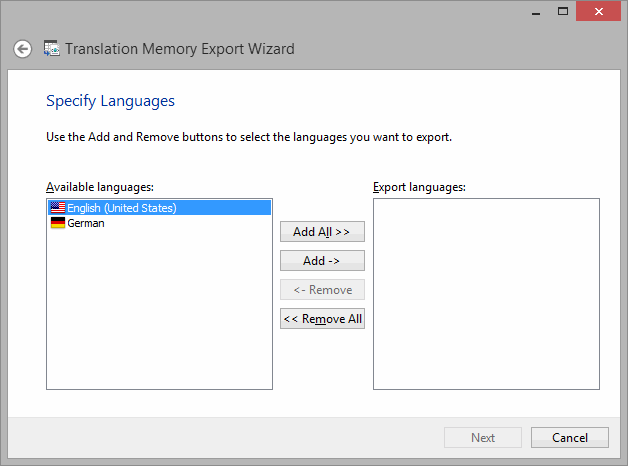
- Copy the desired languages over the Export languages field by selecting them and clicking on Add.note
- Click Next.
- The wizard prompts you to enter any filtering condition, i.e., criteria by which you want to filter the export of your database.
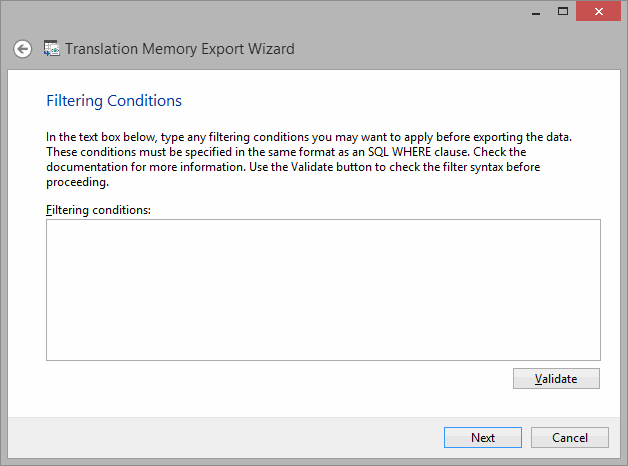
- If you choose to enter an expression, verify it by clicking the Validate button. If the expression proves to be valid, click Next.
Or:
If you choose not to enter an expression, click Next.
- The wizard gives you a choice of the three possible ways to encode a TMX file (Unicode UTF-16, Unicode UTF-8, and US-ASCII) and lets you select what other information besides source and target should be exported.note
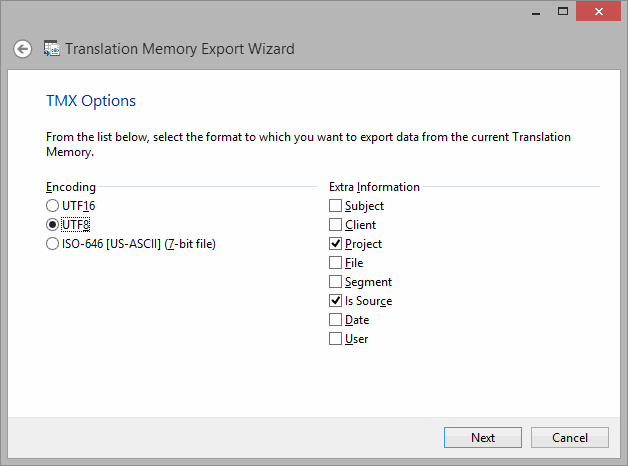
- Make the appropriate choices and click Next.
- Click Next.
- The wizard displays the export progress; when it is finished, it shows how many records have been exported.
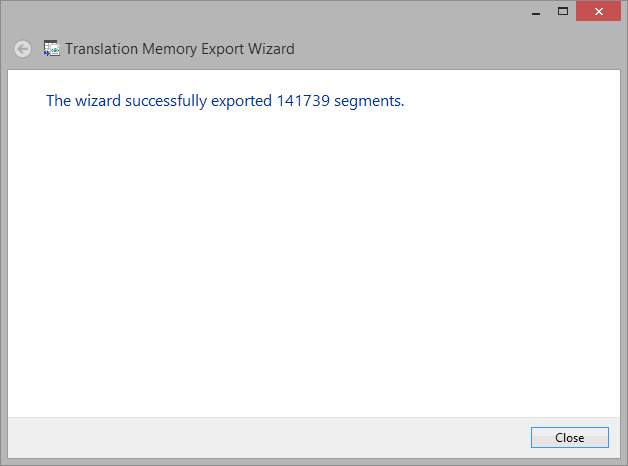
- Click Close and you are returned to your translation memory view.
|


Comments