If you run the TEAMserver installer to update your installation of TEAMserver, and when you get to this part of the installation process:
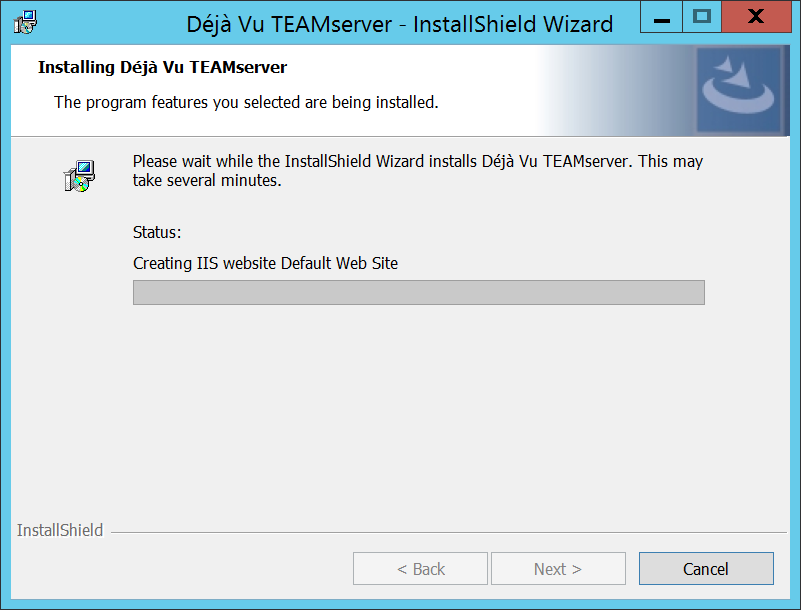
The installer suddenly begins to roll back the installation and then stops:
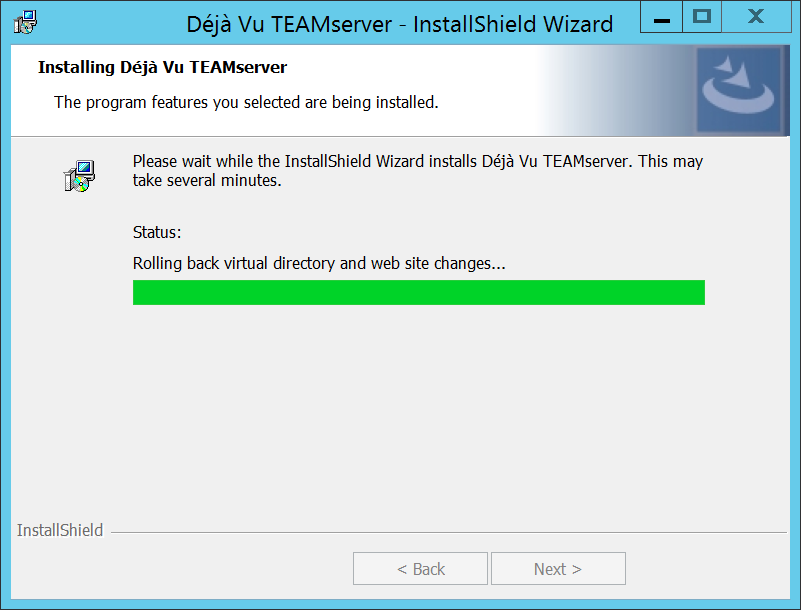
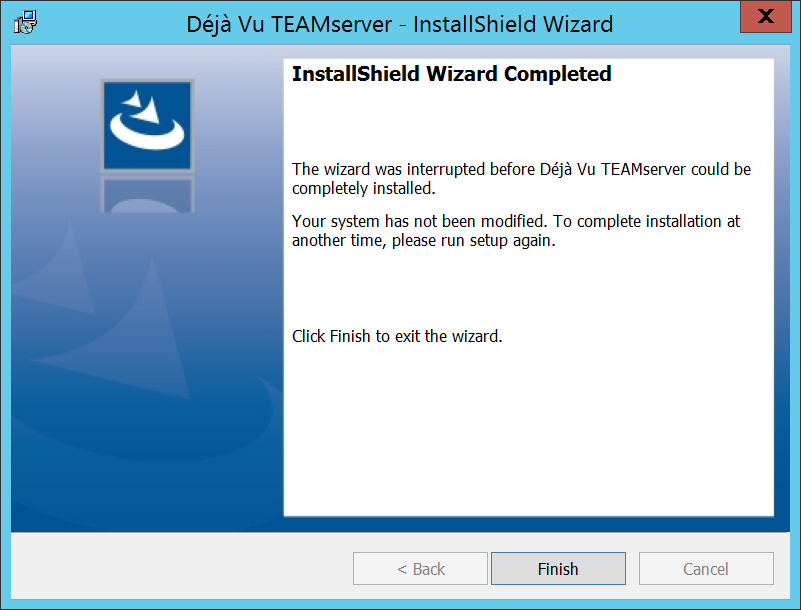
This can happen if your TEAMserver is configured to only accept HTTPS connections, and not HTTP. At the moment, the TEAMserver installer expects the default website to be bound to port 80 and use HTTP. If you have configured IIS to only accept connections that use HTTPS, the installer will be unable to complete the update process.
The solution to this problem is to add a new binding for HTTP on port 80, and then run the installer. If you do not want the web server to accept unsecure connections, you can remove this binding after the update for TEAMserver has been completed.
Add new binding
To add a new binding:
- Open the Internet Information Services (IIS) Manager.
- Click on the Default Web Site.
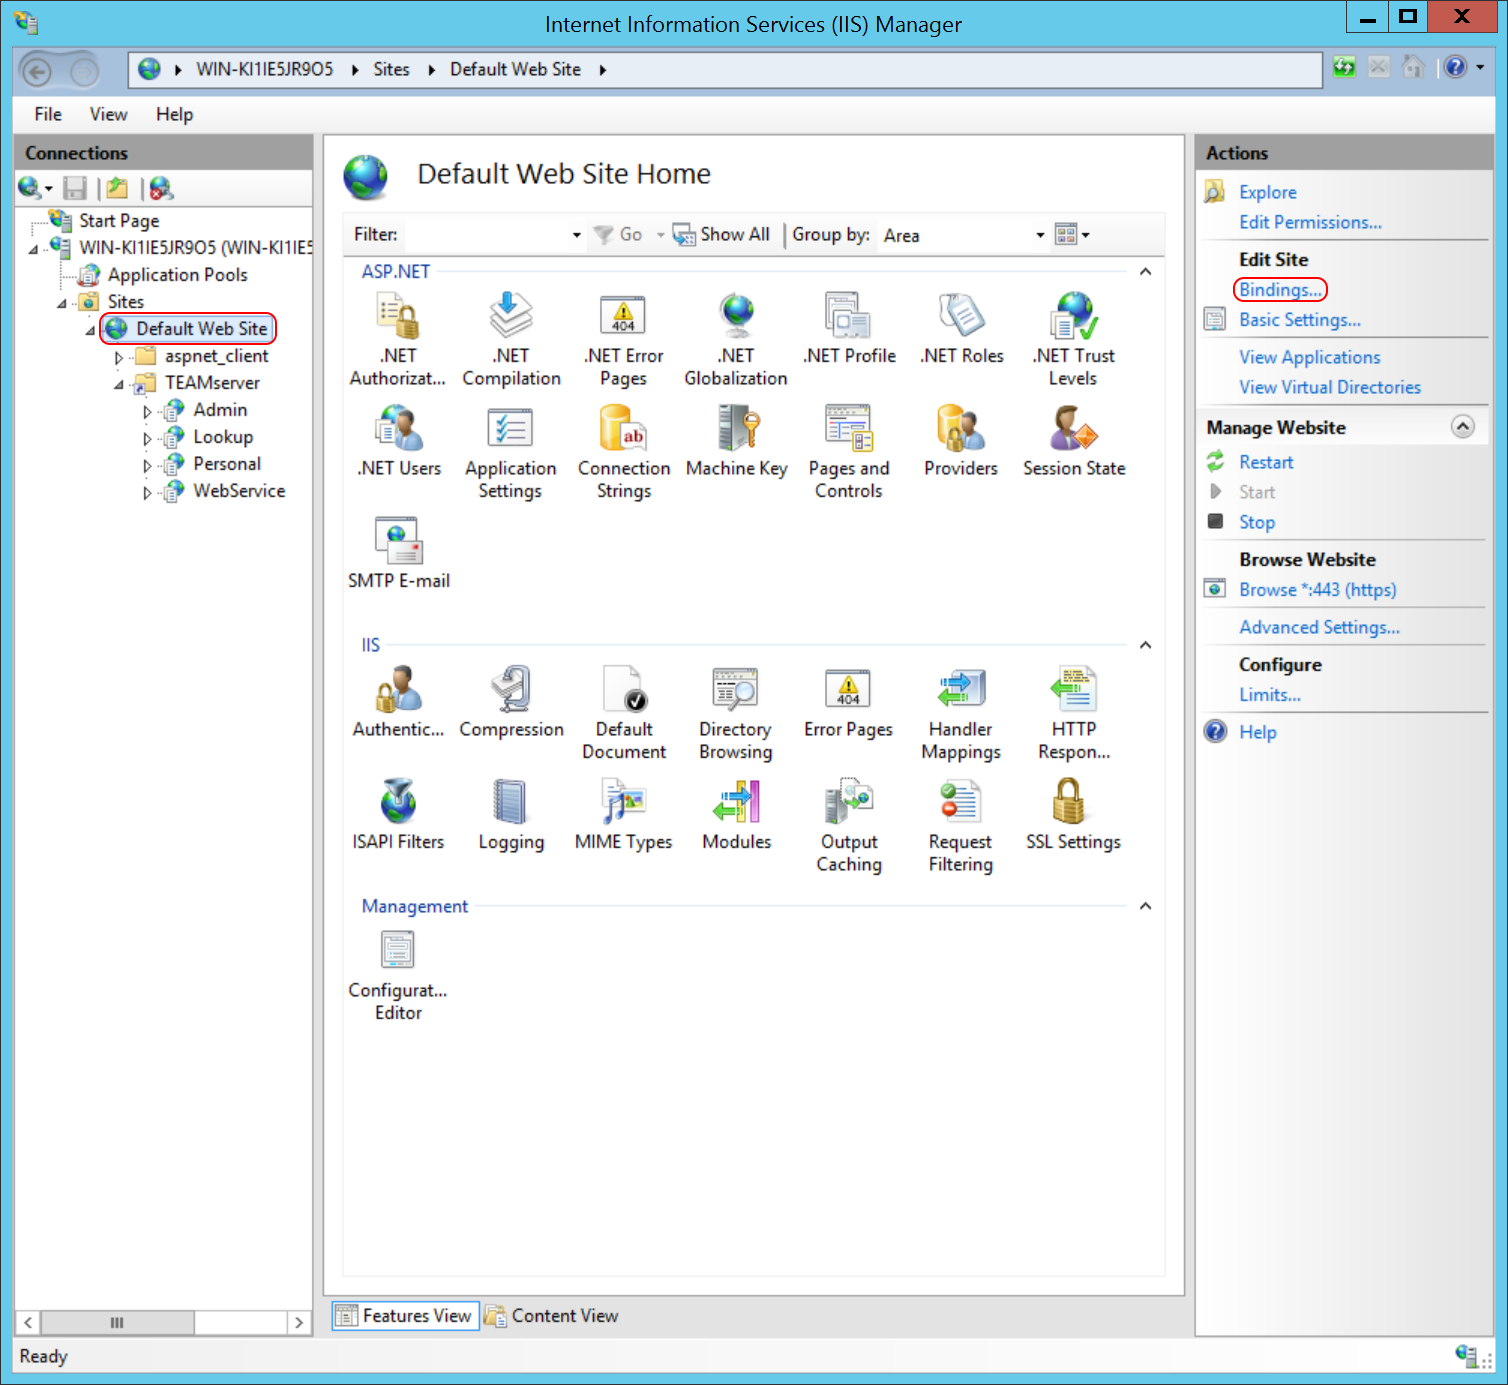
- Click on Bindings....
- The Site Bindings dialog will appear:
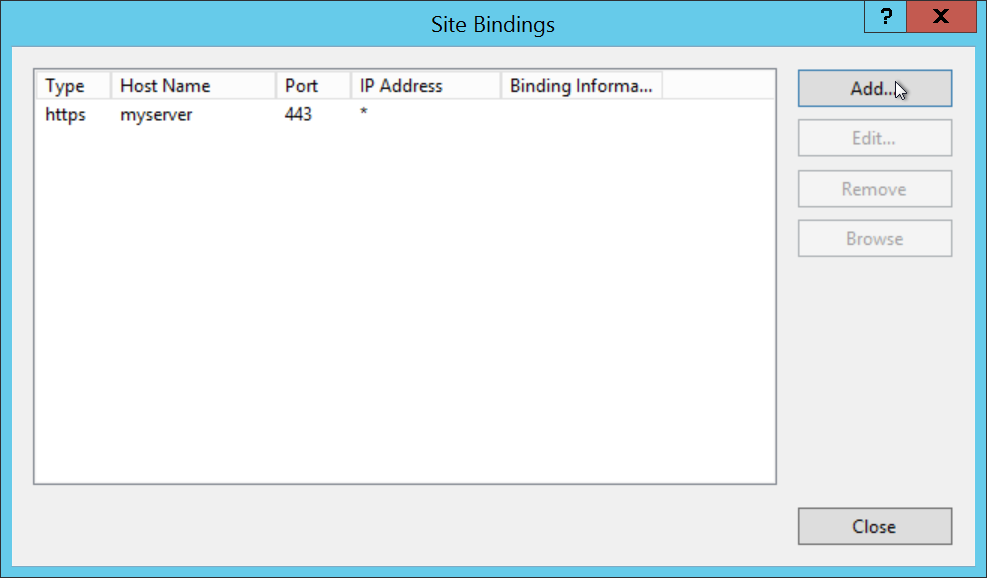
- Click Add....
- The Add Site Binding dialog appears:
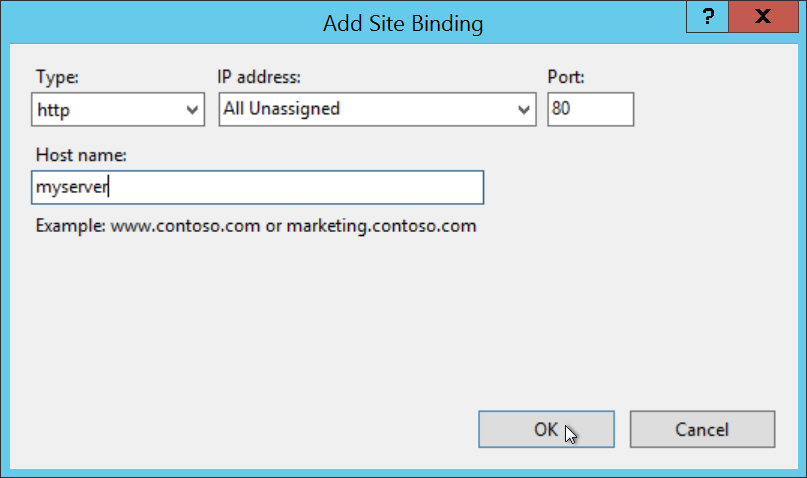
- To add a new binding appropriate for the TEAMserver installer, use the following settings:
- Type: select http.
- IP address: you can leave this as All Unassigned.
- Port: use port 80.
- Host name: leave this blank or, if you can't, use the same host name that was being used for the HTTPS binding.
- Click OK.
- The new binding will be added:
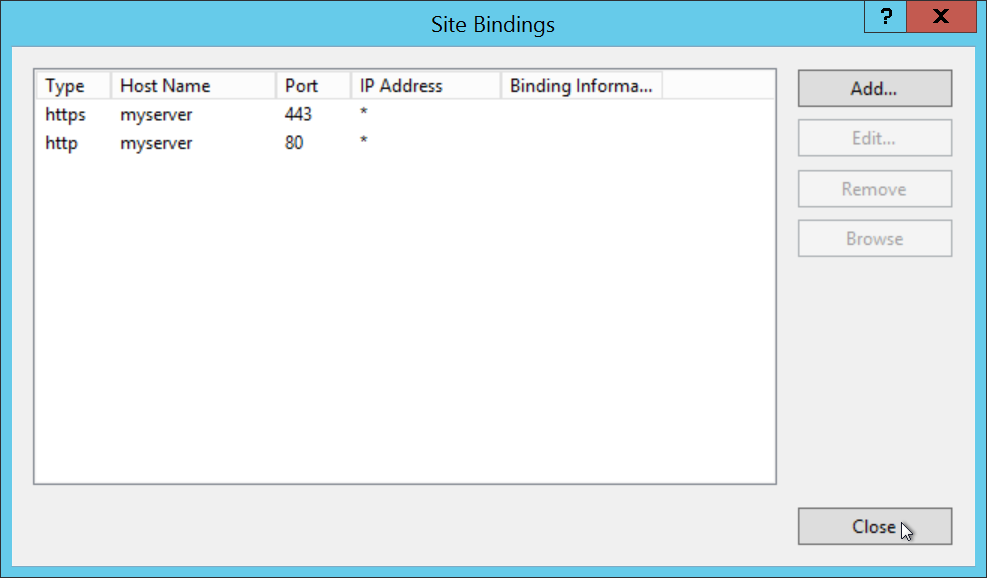
- Click Close.
You will now be able to run the installer to completion, and install the update for TEAMserver.
Remove the binding
Once you have finished installing the update for TEAMserver, you can remove the HTTP binding you added before, if you do not want your TEAMserver to accept unsecure connections. To do so:
- Open the Internet Information Services (IIS) Manager.
- Click on the Default Web Site.
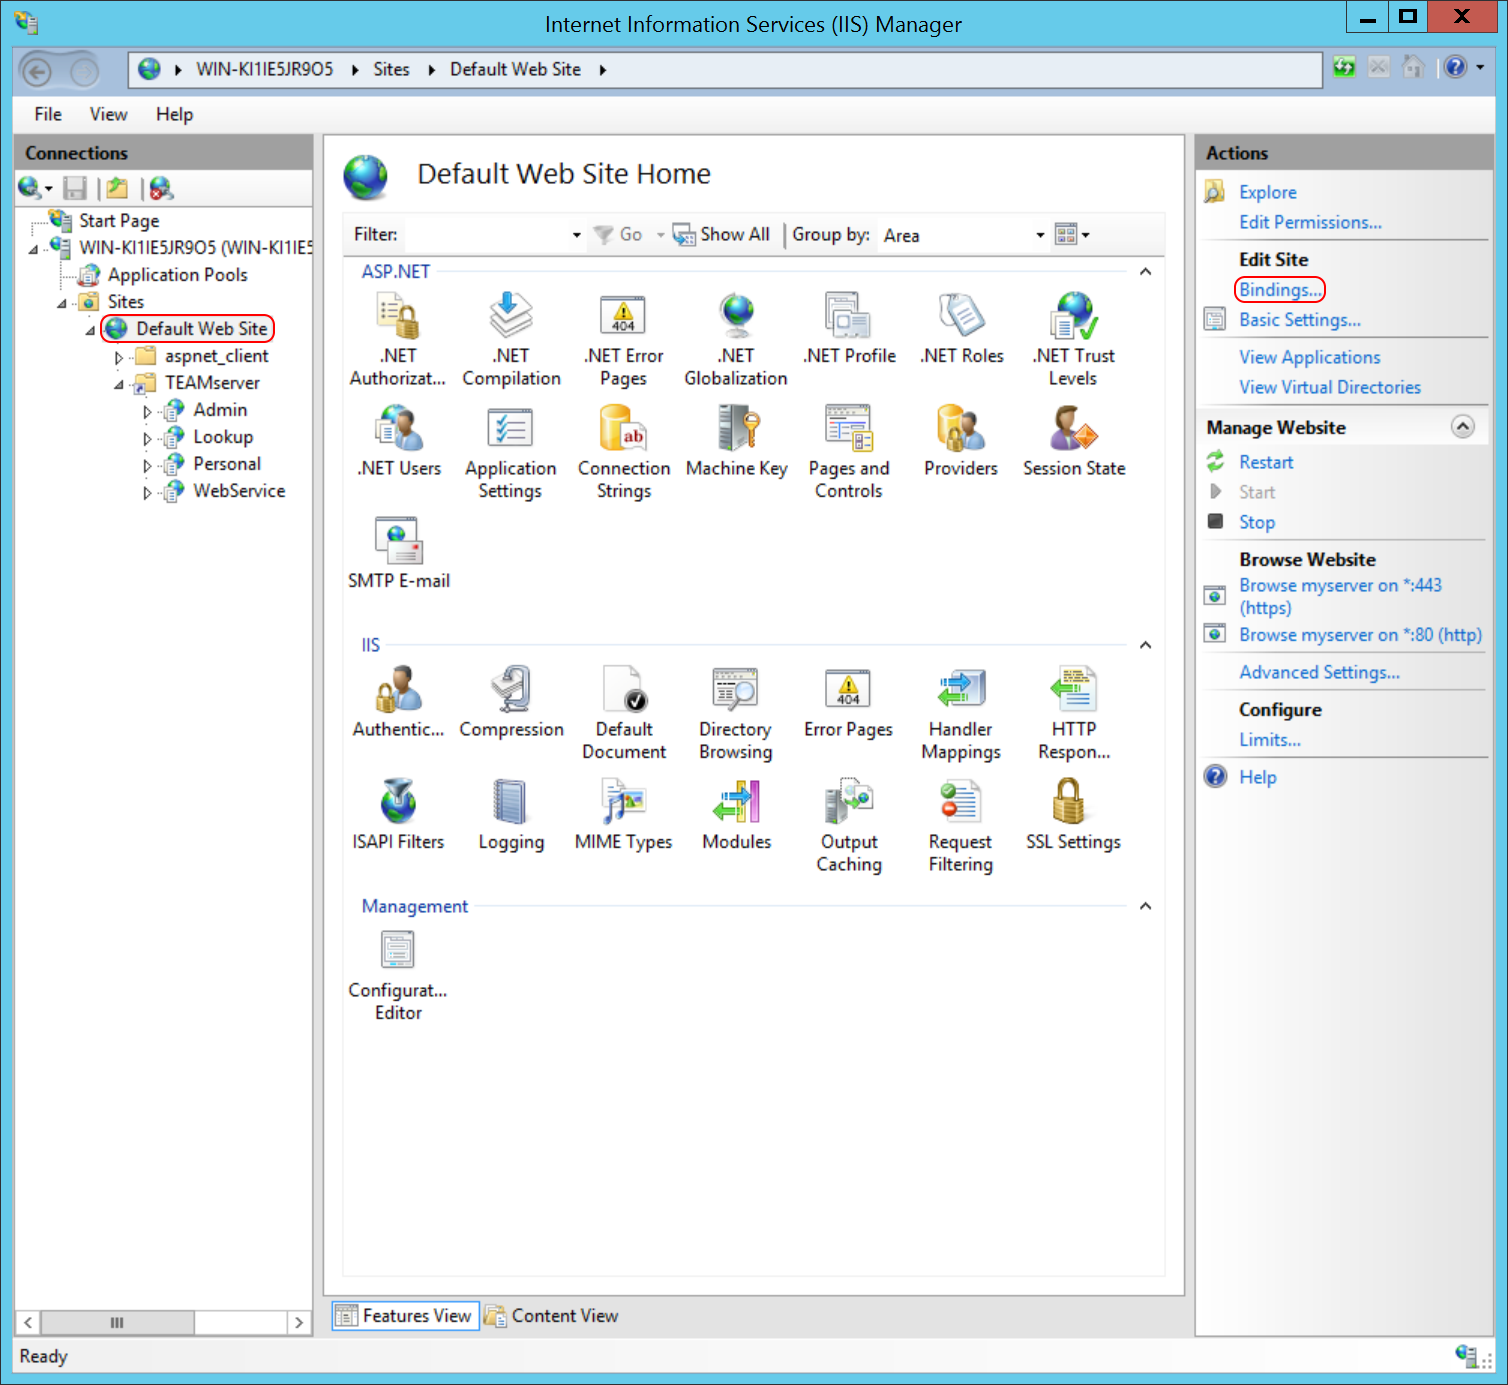
- Click on Bindings....
- The Site Bindings dialog will appear:
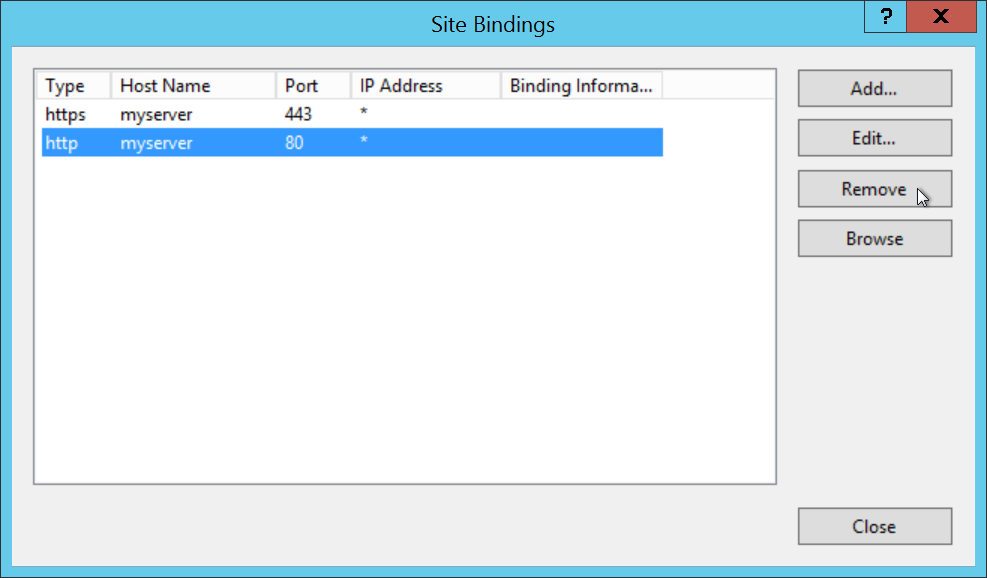
- Select the HTTP binding, and click Remove.
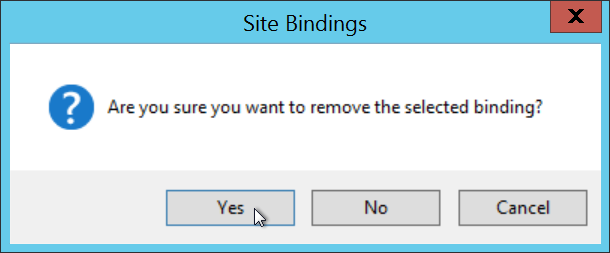
- When a confirmation dialog appears, click Yes:
- The binding will be removed:
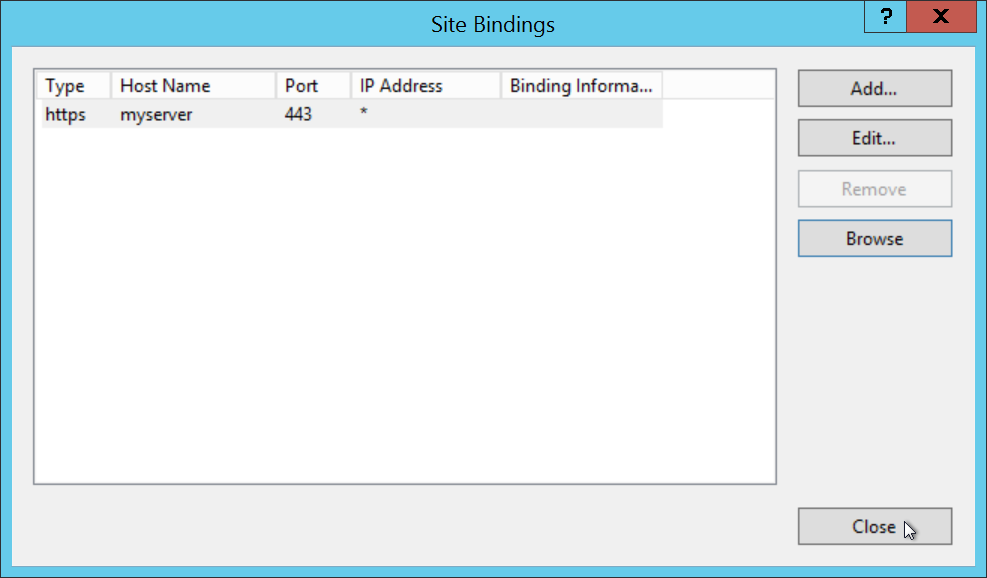
- Click Close.

Comments